In this lesson, you will learn how to make your own blocks.
In all the chapters, you were using beginner language’s blocks. In this chapter, you’ll learn how to make your own blocks. Why is making your own blocks important?
Well, imagine you want to make a funny turning and moving ball project. You might want to create clone of the ball and want the program to run a block of script. Then you want to delete all the clones and send a message. After sending the message, you might want to attach the same block of script to the “when I receive message” block.
So, making your own block would be useful in that case.
Let’s learn how to make our own blocks.
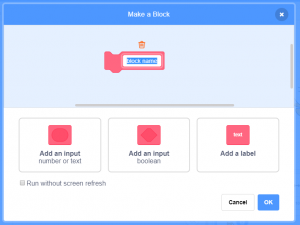
Step 1: Click “Make a Block”.
![]()
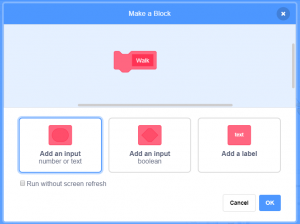
Step 2: Write block name in the blank that says, “block name.”
Step 3: Select number or text input and write name inside.
Step 4: Click “OK”.
Now, we have our block. Let’s define it. Go to the motion blocks and drag a “move 10 steps” block. Then attach it with the “define” block.
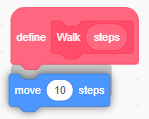
After the define and name of the block part, you will see a round rectangle that has the name of the number or text input. Drag this to the “move 10 steps” block and make it replace the 10.

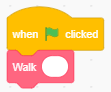
Now, we have our defined block. Let’s use it. First, go to the events blocks and get a “when green flag clicked” block.
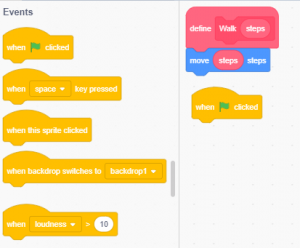
Go to the my blocks and get your defined block. Inside the blank, write any number you want.
Note: defined blocks are colored in pink.
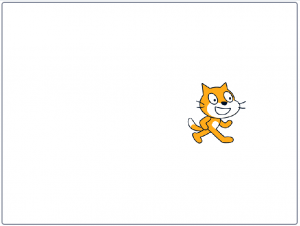
Click the green flag several times and see the result. The cat should be moving.
Now, you learned how to make your own blocks. You can make blocks that can ask the player questions, move sprites, and even change backdrops. You can easily create and define blocks. You can define your own block by attaching any amount of blocks you want.